Z-Troller Configuration
Jump to navigation
Jump to search
The printable version is no longer supported and may have rendering errors. Please update your browser bookmarks and please use the default browser print function instead.

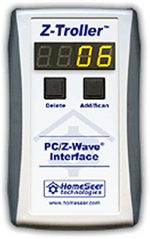
Z-Troller

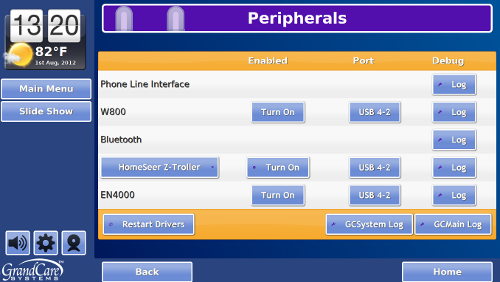
Peripherals Screen

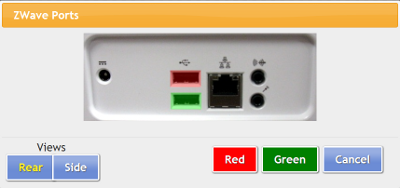
Choose a Port
Overview
When you are using Z-Wave protocol ADL sensors, you have your choice of two Z-Wave transceivers (antennas), the Z-Stick or the Z-Troller. The Z-Stick is more commonly used. The Z-Troller is more expensive, and it must be plugged into an electrical outlet, but it has a larger range than the Z-Stick. It is appropriate for older houses or larger houses.
How to Install a Z-Troller
At the touchscreen (or for a CoMo box - at the system emulation image):
- Plug the Z-Troller into an electrical outlet that is not switch-operated
- The Z-Troller is a serial device, so plug it into a serial port on the system if there is one, or use a Serial-USB adapter to plug the Z-Troller into an available USB port
- Press the System (Gear) button
- Enter the 4-digit System PIN (which is set, and can be viewed, on the Advanced Settings screen in the Care Menu)
- Press "Peripherals"
- Choose the antenna type (HomeSeer Z-Troller)
- Choose the port - your choices will be specific to the system hardware
- Press "Turn On"
- Restart peripherals when prompted
- If installed correctly, the row will now be highlighted in green. If there is a problem with the installation, the row will be highlighted in red.
- After it is installed correctly, you can begin to add Z-Wave devices, such as motion sensors, door sensors, etc.